Transforming compost into soil is a rewarding practice that benefits both gardeners and the environment. Composting is more than just disposing of organic waste; it’s a way to create rich, nutrient-packed soil that supports plant health, retains moisture, and fosters sustainable gardening. This guide will cover everything you need to know to turn compost into soil effectively, from understanding the decomposition process to applying composted soil in your garden.
Gardening enthusiasts often ask, “How can I turn compost into soil?” or wonder about the right techniques to ensure the soil they create is beneficial for their plants.

What is Compost and How Does It Turn Into Soil?
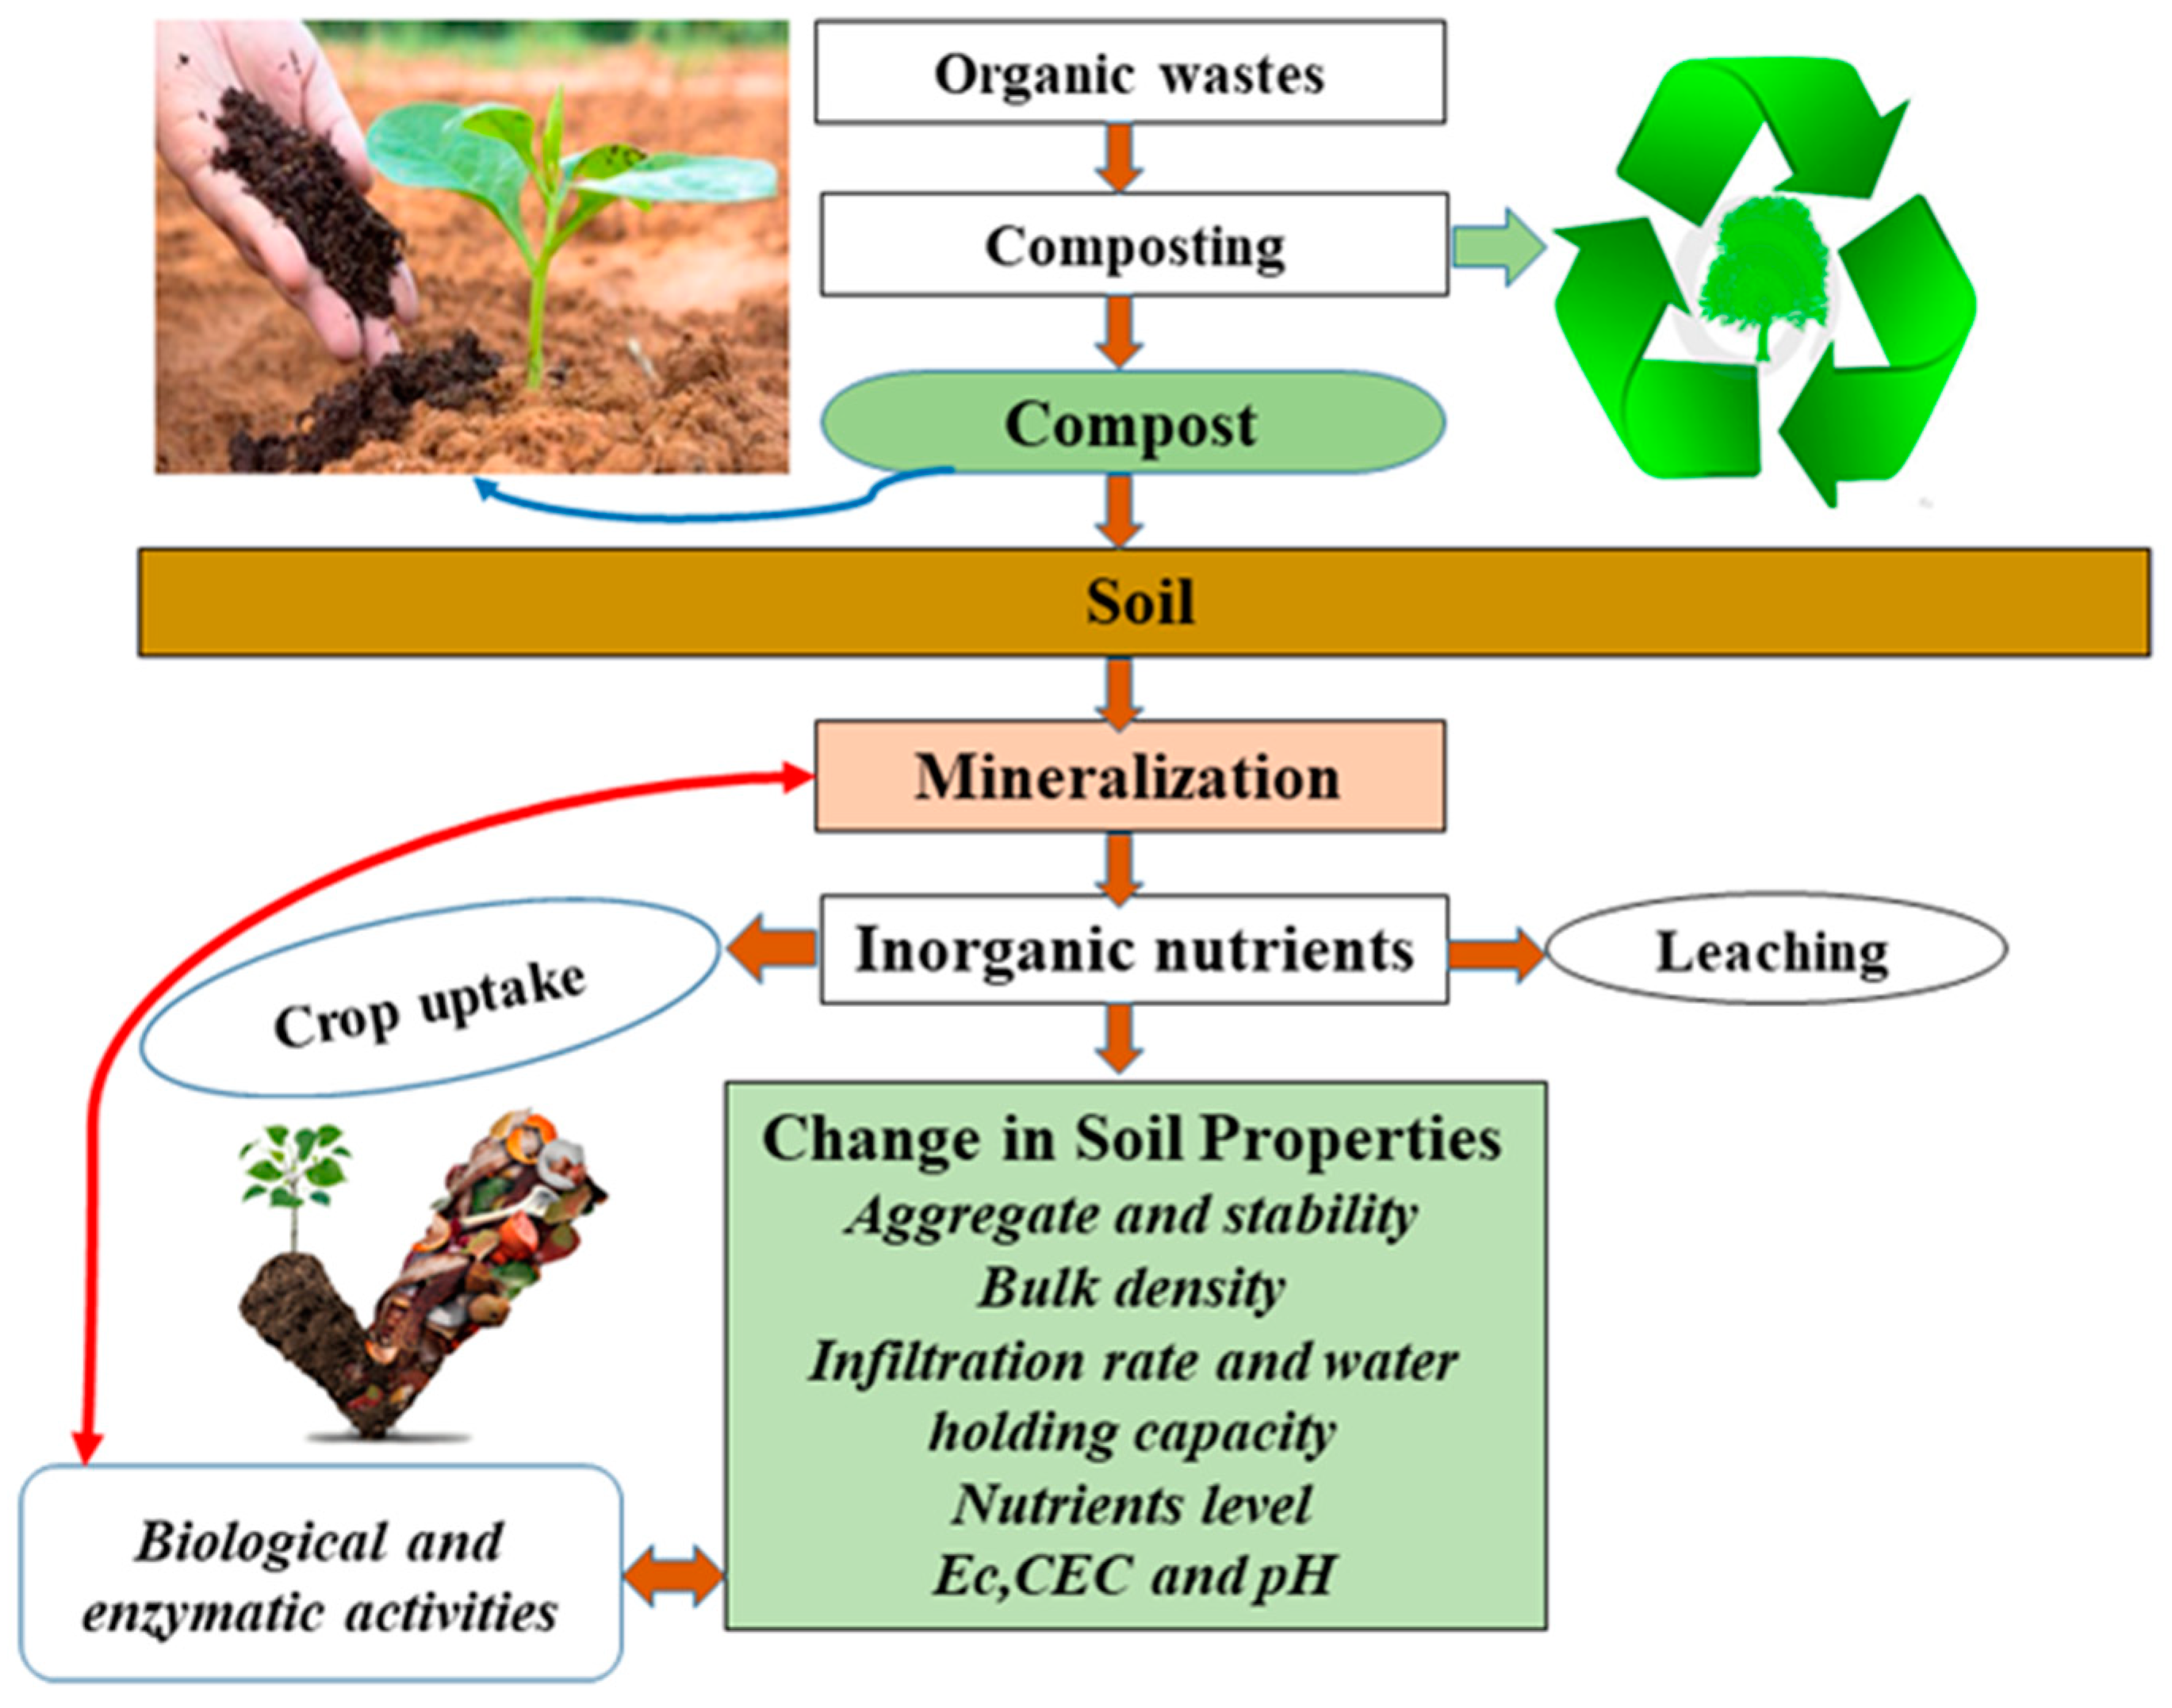
Compost is often described as “black gold” in the gardening world, and for a good reason. Compost is decomposed organic material that, when fully broken down, enriches soil with essential nutrients, beneficial microorganisms, and organic matter that plants thrive on. But what exactly goes into compost, and how does it become soil-like in texture and composition? Here’s an in-depth look at the process.
Understanding Compost
At its core, compost is a mixture of organic materials that have been decomposed by bacteria, fungi, and other microorganisms. These materials usually fall into two main categories:
- Green Materials: These include items high in nitrogen, like vegetable scraps, coffee grounds, fresh grass clippings, and garden trimmings. Nitrogen-rich ingredients are essential for helping bacteria break down other materials more rapidly.
- Brown Materials: Brown components, such as dry leaves, straw, cardboard, and small twigs, provide carbon. Carbon acts as a food source for microorganisms, keeping the compost balanced and preventing it from becoming too wet and smelly.
A good compost mix typically has a ratio of two parts brown to one part green. This balance is crucial for effective decomposition, ensuring a final product that is rich in nutrients and free from foul odors.
The Decomposition Process
To transform compost into soil, a natural process of decomposition must occur, which happens through several stages:
- Initial Breakdown (Mesophilic Stage): In the early stages, bacteria begin breaking down the easily decomposable materials, generating mild heat. This phase lasts a few days as the compost “heats up” and attracts various decomposers like worms, insects, and smaller microbes.
- Thermophilic Stage (High-Temperature Decomposition): As the microbial activity intensifies, the compost pile heats up significantly, often reaching temperatures between 130-160°F (55-70°C). This stage can last weeks or even months, breaking down tougher materials like woody branches and killing pathogens or weed seeds.
- Cooling and Maturation: After the high-heat phase, the compost cools and matures, allowing beneficial fungi, worms, and other organisms to further decompose and enrich the material. Over time, the compost becomes stable, meaning it’s rich in nutrients and ready to be mixed into soil.
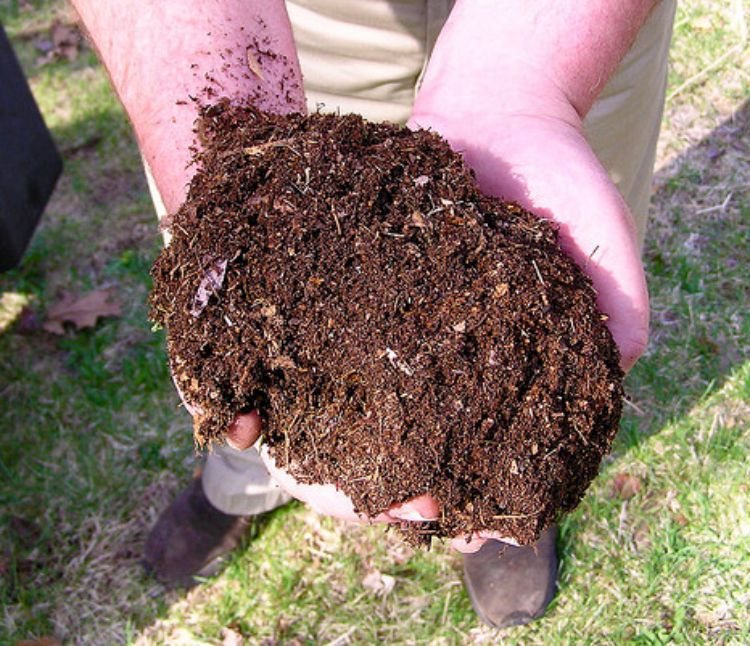
The resulting compost is dark, crumbly, and has an earthy smell. At this point, it closely resembles soil in texture and structure but is even more nutrient-dense.
Difference Between Compost and Soil
While they may look similar, compost and soil have distinct roles in gardening:
- Soil: This is the natural medium in which plants grow and typically consists of minerals, organic matter, air, and water. Good soil has varying levels of sand, silt, clay, and organic content, depending on the region and type.
- Compost: Compost acts as a soil amendment. It improves soil structure, boosts nutrient content, and promotes healthy microbial activity. However, it is not a standalone planting medium for most plants.
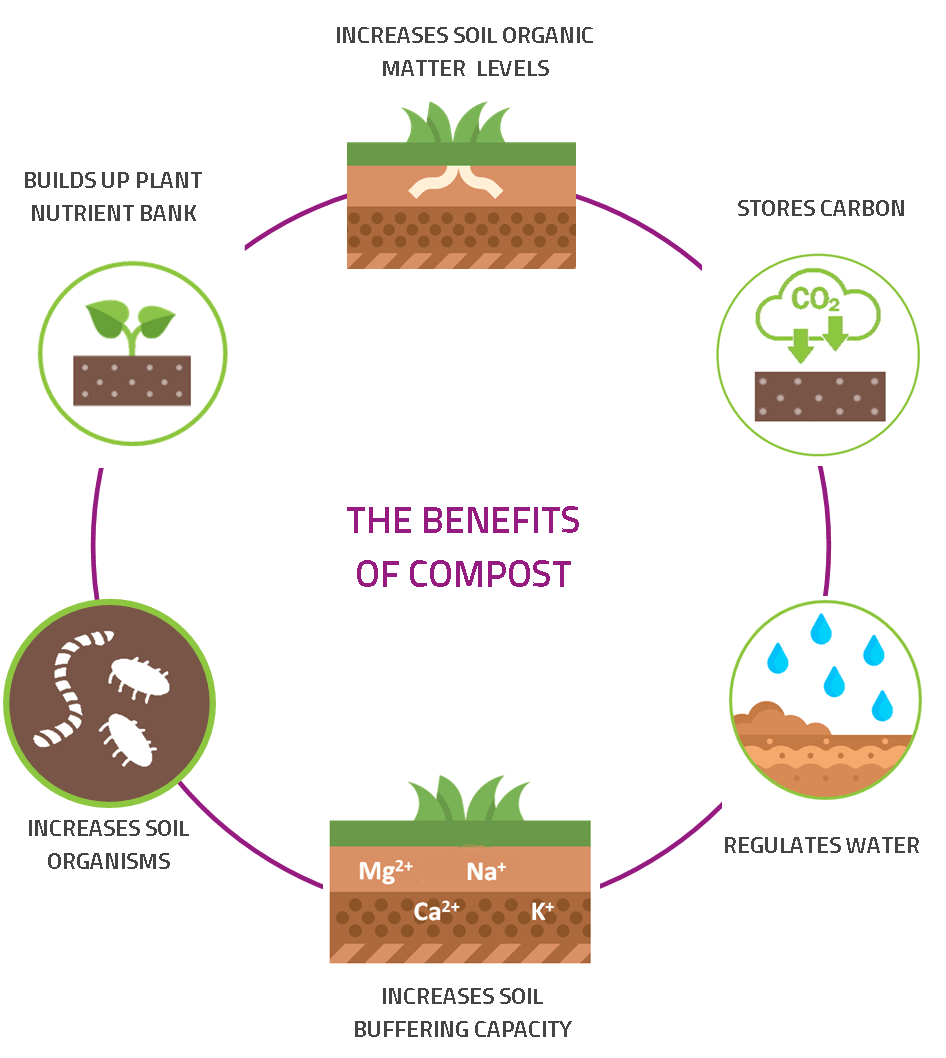
Blending compost with soil creates composted soil—an enhanced medium that retains water, promotes root growth, and supports healthy plant development.
Compost and Soil Transformation: A Sustainable Approach
Transforming compost into soil-like material is sustainable and aligns with eco-friendly practices. Rather than using synthetic fertilizers, which can lead to nutrient runoff and environmental harm, compost naturally enhances soil quality over time. Moreover, composting reduces household waste, conserving landfill space and lowering greenhouse gas emissions.
Preparing Compost for Soil Transformation
Creating high-quality compost that can be effectively transformed into soil involves careful planning, the right materials, and consistent maintenance. By preparing your compost correctly, you ensure that it decomposes efficiently, yielding a rich, nutrient-dense material ready for integration with soil. Here’s a step-by-step guide on how to prepare compost for this transformation.
Step 1: Gathering the Right Materials
The quality of your compost depends largely on the materials you include. Aim for a balanced mix of green and brown materials, as they each serve unique purposes in the decomposition process.
- Green Materials (Nitrogen-Rich): Vegetable scraps, coffee grounds, fresh grass clippings, and manure from herbivores (such as rabbits or horses). These materials provide nitrogen, which fuels the decomposition process and encourages microbial activity.
- Brown Materials (Carbon-Rich): Dry leaves, cardboard, straw, shredded newspaper, and small branches. Carbon-rich materials help to balance moisture and prevent the compost from becoming too compact or odorous.
A balanced compost pile typically follows a 2:1 ratio of browns to greens. Too much nitrogen can cause the compost to become overly moist and emit odors, while too much carbon can slow down the decomposition process.
Step 2: Choosing a Composting Method
Selecting a composting method that aligns with your space and time is essential for a successful composting experience. Here are a few popular methods:
- Compost Pile: An open pile of compost is easy to maintain and ideal if you have enough outdoor space. However, it requires regular turning to aerate the compost and can attract pests if not managed carefully.
- Compost Bin: A compost bin contains the pile and keeps it organized, making it suitable for small yards. Bins come in various shapes and sizes, including stationary and tumbling bins, which can be rotated for easy aeration.
- Trench Composting: This method involves digging a trench, placing compost materials inside, and covering them with soil. The compost breaks down directly in the ground, and no turning is needed, making it a low-maintenance option for those with garden beds.
- Vermicomposting: Vermicomposting uses worms to break down organic matter quickly. This method is ideal for indoor composting or small spaces and produces a highly potent compost called worm castings. However, it’s best for small batches and isn’t suitable for all materials.
Each method has its advantages, so choose one that fits your lifestyle and gardening needs. For example, a compost pile or bin might work well if you have ample outdoor space, while vermicomposting may be better suited for indoor composting.
Step 3: Monitoring and Maintaining Your Compost
Regularly checking on your compost pile is crucial to ensure it’s progressing smoothly toward usable composted soil. Here’s how to maintain it effectively:
- Aeration: Turning the compost every few weeks helps to introduce oxygen, which microorganisms need for efficient decomposition. Compost tumblers make this easier, but a pitchfork or compost aerator works well for open piles.
- Moisture Levels: Compost should feel like a damp sponge—moist but not soggy. If the pile is too dry, decomposition slows down, so consider lightly watering it. If it’s too wet, add more brown materials to absorb excess moisture.
- Temperature: A well-balanced compost pile will heat up during the thermophilic stage. Using a compost thermometer, aim for temperatures between 130-160°F (55-70°C) to kill off pathogens and weed seeds. If the pile isn’t heating, consider adjusting the green-to-brown ratio.
- Pest Control: Avoid adding meat, dairy, or oily foods, which can attract pests. If you notice rodents or insects, cover the compost with soil or straw and ensure the bin or pile is secure.
By gathering the right materials, choosing the correct composting method, and monitoring the pile, you set up a compost system that is primed for transforming into nutrient-rich soil. This preparation ensures the compost will be mature, balanced, and full of nutrients by the time you’re ready to use it in your garden.

How to Know When Compost is Ready to Turn Into Soil
Determining when compost is fully decomposed and ready to be used as soil is a critical step in the composting process. Compost that’s not yet mature can harm plants by robbing them of nitrogen or spreading pathogens, so understanding when compost has reached the ideal state is essential. Here’s how to recognize the signs of mature compost and test its readiness.
Signs of Mature Compost
Fully matured compost has specific characteristics that differentiate it from partially decomposed material. Here are some key indicators that your compost is ready to be turned into soil:
- Color and Texture: Mature compost should be dark brown or black and have a crumbly, soil-like texture. It should not resemble any of the original materials you added (like leaves or vegetable scraps).
- Smell: One of the clearest signs of maturity is a rich, earthy smell, similar to the scent of forest soil. If your compost has a sour or ammonia-like odor, it likely needs more time to decompose.
- Temperature: A well-maintained compost pile heats up during decomposition and then cools down as it matures. Once the compost stabilizes and no longer generates heat, it’s a good sign that it’s ready.
- Insects and Worms: When compost reaches maturity, it often attracts earthworms and other beneficial insects. Their presence indicates that the compost is stable and free of harmful bacteria.
Testing for Readiness
To ensure your compost is fully mature, try these simple tests:
- The Bag Test: Place a small amount of compost in a plastic bag, close it, and let it sit for a week. If you open the bag and smell an earthy scent without any foul odors, the compost is mature. If it smells sour or putrid, it needs more time.
- The Sprout Test: Fill a small container with compost and plant a few fast-growing seeds (like radish or lettuce). Keep the container moist and check for sprouting. If the seeds grow healthy and strong, the compost is ready. Stunted or weak growth can indicate the compost isn’t fully decomposed and may still release substances that inhibit plant growth.
- Squeeze Test for Moisture: Take a handful of compost and squeeze it. It should feel like a damp sponge—moist but not dripping. If it’s too dry or overly wet, it may not be fully mature.
Time Frame for Compost Maturity
The time it takes for compost to reach full maturity can vary widely depending on factors such as the composting method, materials used, and environmental conditions:
- Hot Composting: With regular turning and ideal conditions, hot composting can produce mature compost within 2-3 months.
- Cold Composting: This method, which involves less maintenance, usually takes between 6 months to 1 year.
- Vermicomposting: Using worms to compost food waste can produce mature compost within 2-4 months, though it depends on worm population and feed rate.
Knowing when your compost is fully decomposed is a blend of observation and simple tests. By following these guidelines, you can be confident that your compost is ready to be turned into soil, providing a rich foundation for plants without risking nutrient imbalance or other issues.
